Chunky little metal book

A few weeks back I did some metal embossing pieces using flower chipboard pieces underneath and attached them to an ATC sized ecoboard with glue. Yesterday I tried to color them with India ink in turquoise, yellow, fushia and orange. I like the result but I have to admit it took some doing. I did several layers with drying in between with a heat gun. I think I will give it a protective coating with some clear acrylic spray paint. The accordion pages were cut from watercolor paper and painted with some sparkly mica color paint which is hard to capture with my camera. Next time I would like to try my hand at book binding and add a ribbon closure.

 Front cover

 Back cover
 Accordion pages

Spring Thing Challenge at Unruly Arts

Here's my submission for the Unruly PaperArts RAQ challenge theme "Spring Thing". This will be my first online challenge! It will be going into a journal.


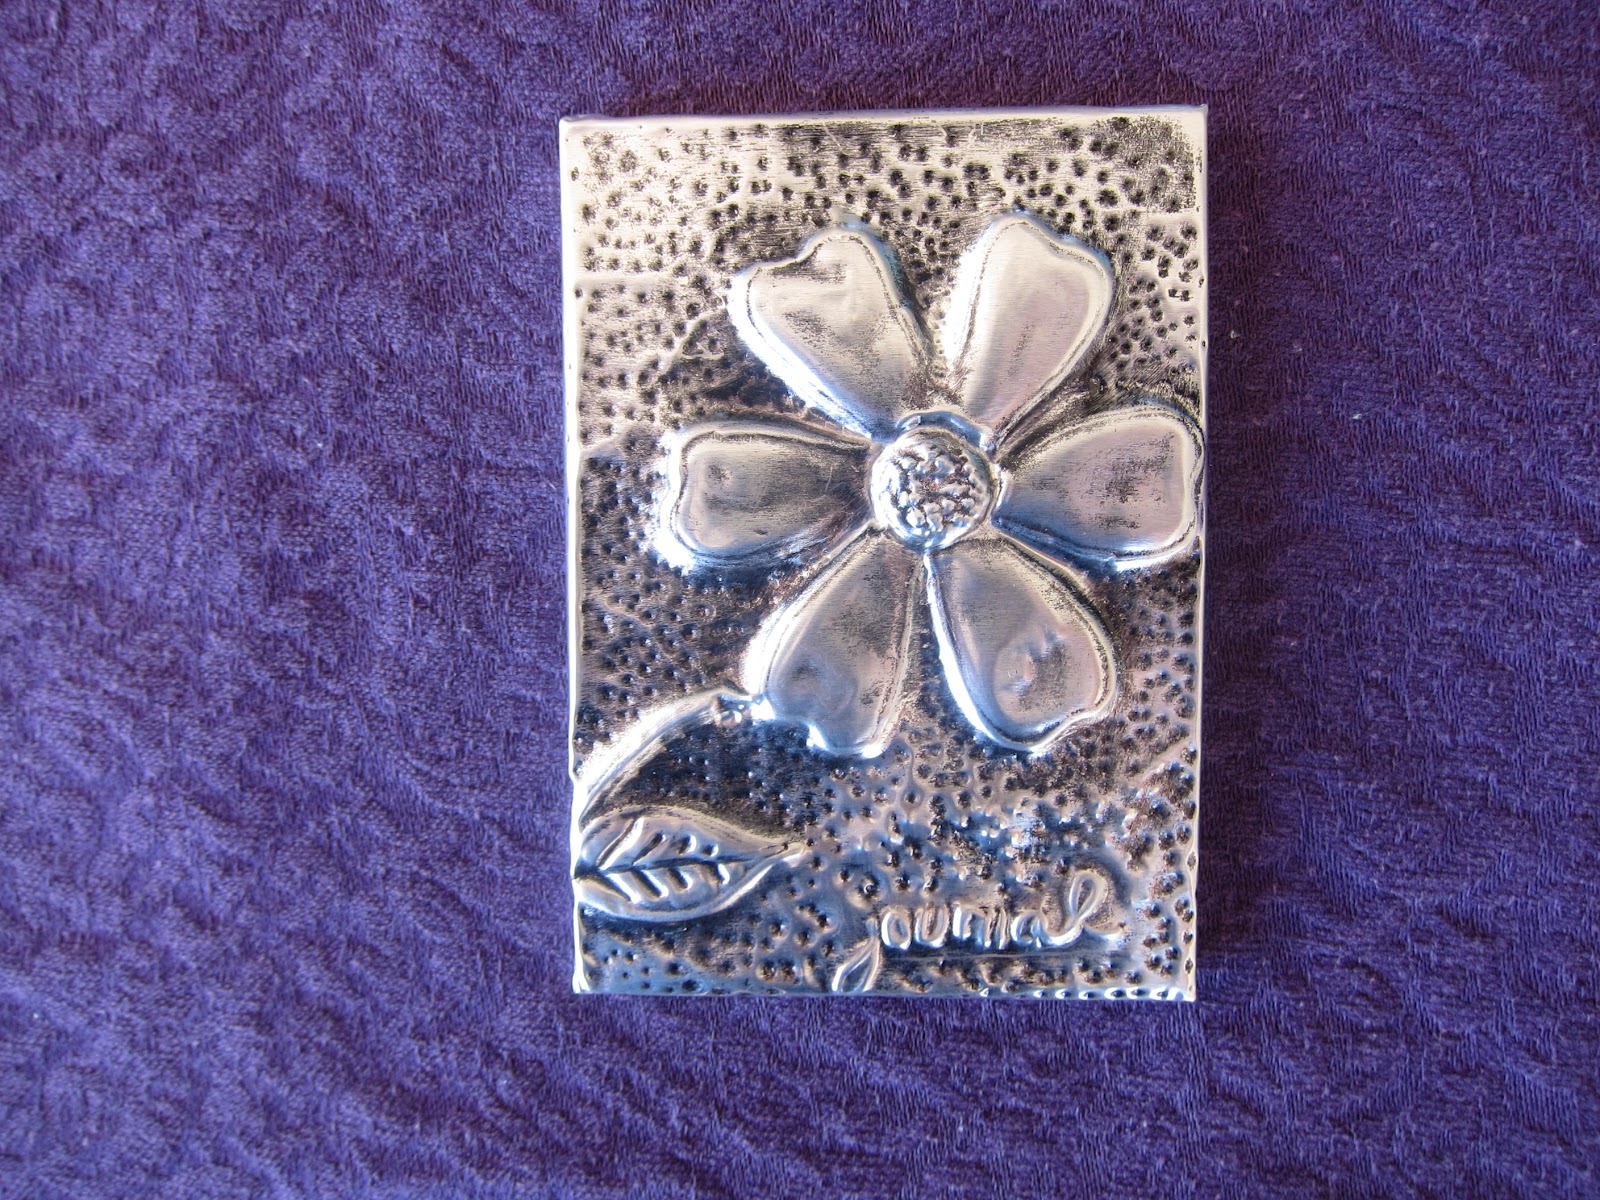
Metal embossed ATC


 I did some metal embossing with foil last night and thought it might be cool to turn it into a book cover. Using a flower Bazzil chip board piece I placed a piece metal foil over it and embossed it with embossing tools - first with a cardboard blending stump type tool, then to further define the design, I used a metal embossing tool with a little ball at each end . You want to have something underneath it all that has some give to it. Right now I'm using a mouse pad but I think I may spring for some new mats because I really need my mouse pad for my computer! Next I added a stem and a leaf and the word journal and used the end of my embossing tool to make the dot background. 


On the back side, spackle was used to fill in the poofed out parts to prevent them from collapsing. Color was then added to further reveal the design by using alcohol inks. I think next time I will paint a diluted wash of paint or ink instead of applying ink with a  sponge and then wipe off the excess with a paper towel.  Next I glued the embossed metal and wrapped it around an ATC sized Eco Board. I have to say I really like those Eco boards because they're hard as a rock and can take a lot of abuse while at the same time they're extremely lightweight. I'm wondering if they come in a bigger size. Go check out the metal foil sheets too - they come in different colors and are just the right size to work with for this kind of project, the Eco Boards and embossing tools are at Altered Pages  One more thing, I found that embossing was very similar to doing Zentangles - so relaxing and almost meditative as well. It's also a very portable project. I highly recommend it for an easy and stress free activity all by itself.

She's got mermaids on her mind

I've been having all sorts of fun decorating this little shadowbox with mermaids and their treasures. It started with that mermaid candle I made a few weeks back and has morphed into a whole vignette. I was wondering if this would work as a future kit? I used green patina Maya Mist on the shadow box as well as these Mermaids You Make  and Mermaids collage sheets  all of which you can find at AlteredPages


 Almost finished. Still have some little details I would like to add. Here it is without the clear lucite window that goes over it. Can't quite figure out how to take a picture without the reflection of the window obscuring the details.

A simple little card

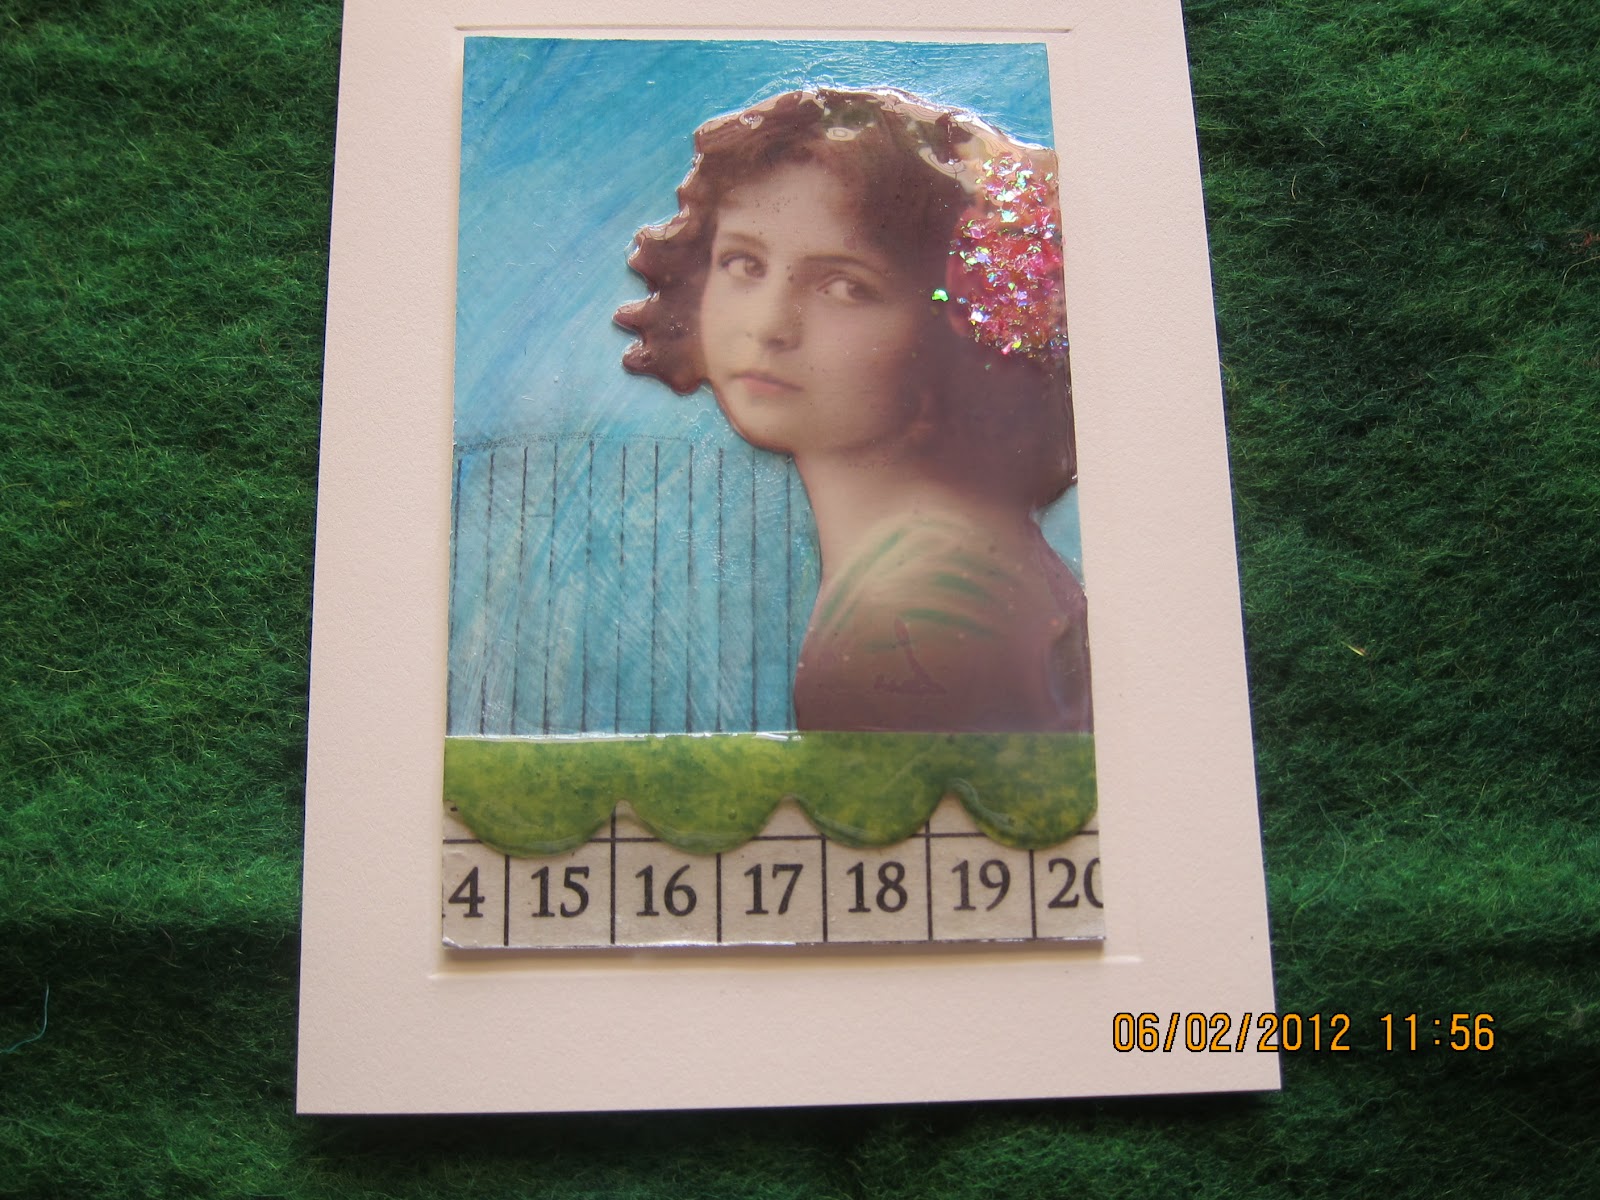
A few months back I made this collage with the Little Lassie girl image but didn't know where to take it. Being short on time I thought a card might be a nice place to display her. So I measured the inside indentation panel of the card and using my old fashioned cropping method of using two L shape pieces of card stock, I taped the two L shaped pieces where I wanted her to be cropped. I made some pencil marks in the corners and cut her out with an Exacto blade. Then I wanted to give her some dimension so I used 3D Crystal Laquer on her and the scalloped edge below her. I put it on real thick about an hour ago so I'm still waiting for it to dry. It's very hot and dry here in AZ so I'm hoping it won't take too much longer!

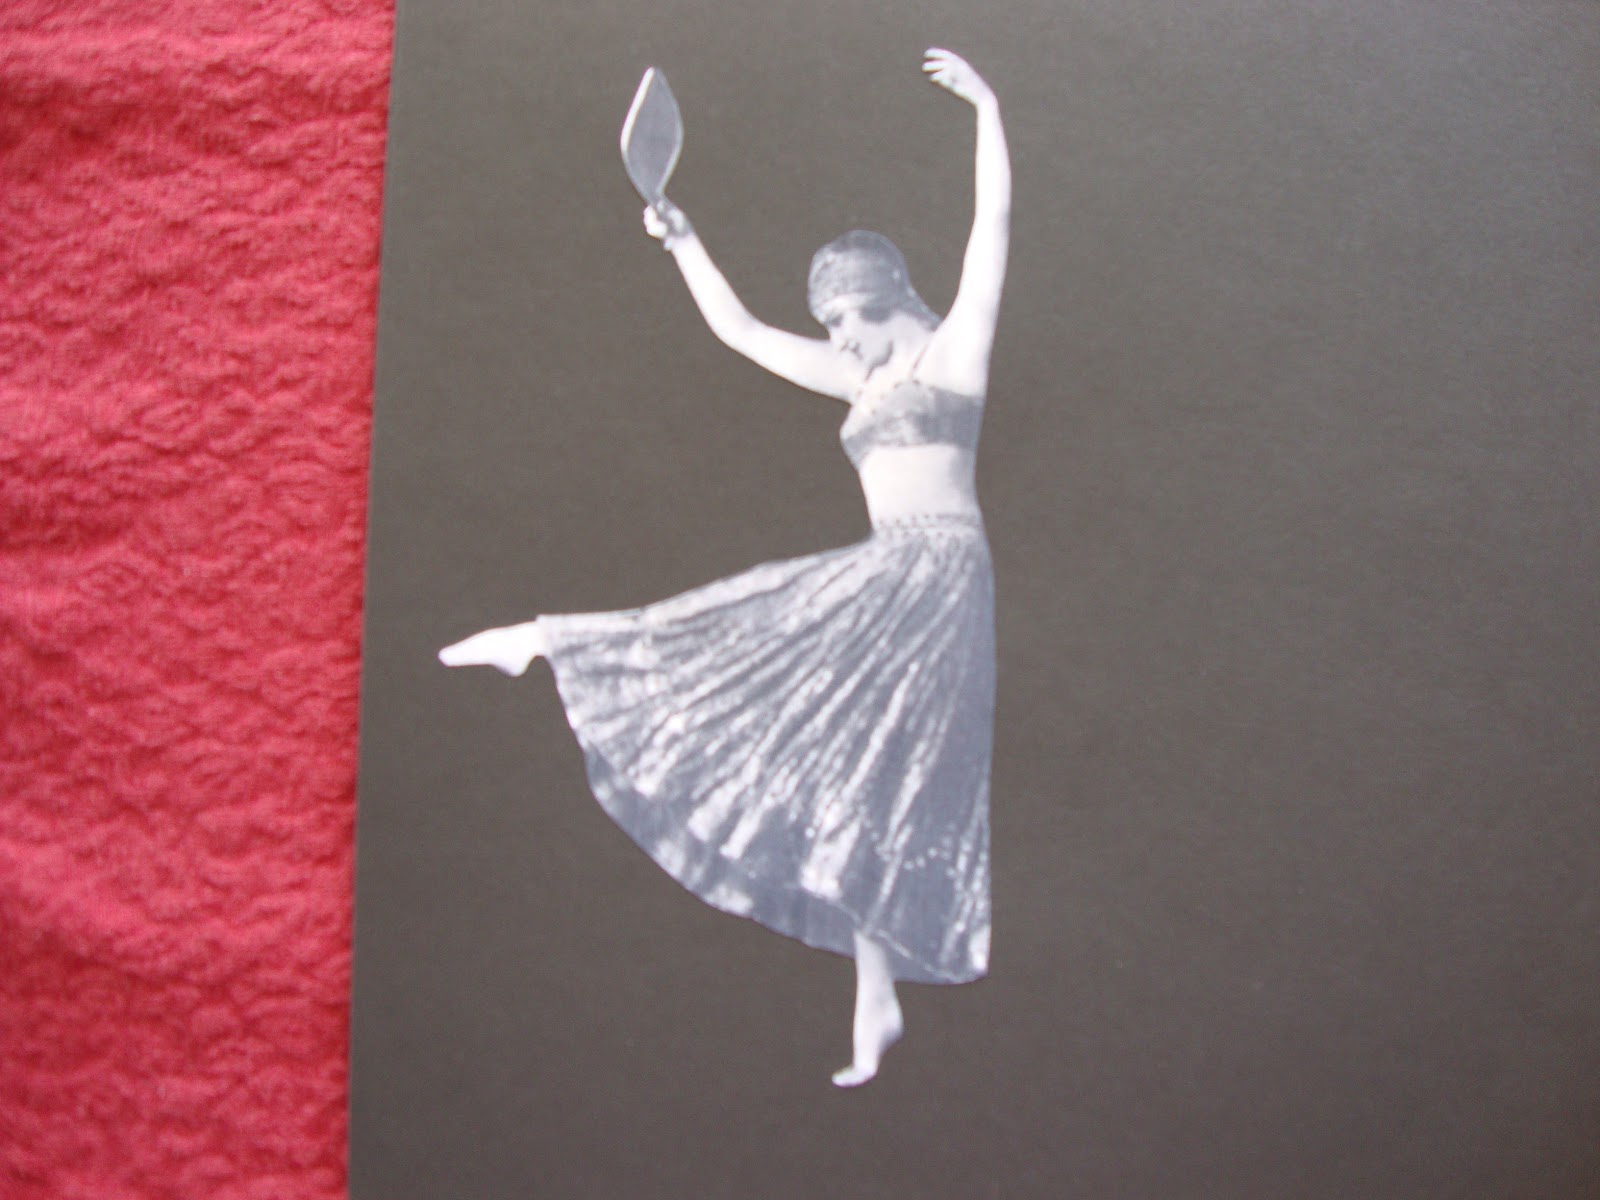
Today I wanted to share with you an image that I "altered" using various techniques. It all started with this dancing gypsy I found on the Altered Pages Altered Bits II collage sheet. I just love her! With my photo editing software I cropped and enlarged her. Then I went ahead and did some more editing by inverting the colors, i.e. making her black and the background white. Of course a simpler way would be to enlarge her with copy/printer and cut her out directly, then paste her shape onto black card stock and cut her out again which will give you a nice silhouette. Well, once you have her silhouette or template for that matter, you can make a stencil or a mask for inking, painting or printing! What was really fun for me was using the software from my digital cutter to cut her out.

The simple silhouette shape can then be scanned into the computer ( placed on a white paper) and easily converted into a jpeg, svg, png, psd, etc., making her into whatever color, size or shape that you want her to be. Are you seeing the potential here?!? So next time you see an interesting shape in one of the collage sheets purchased from Altered Pages think beyond cutting and pasting as is and try something new!

I've enlarged the image, printed then cut it out
Then I glued the shape onto black card stock and cut it out again. Since I have a digital cutter, I was able to directly cut the shape out directly which is why it looks so perfect.
I went ahead and cut her out of white stencil paper to use as a mask.
Here she is masked and overprinted using a Gelli printing plate  in blue showing the orange yellow red print beneath.
This is a ghost print which happens after pulling a first print, taking off the mask, then laying down a second sheet of paper which reveals a crisp outline of the mask. This was overprinted in a red purple. Sometimes this works and sometimes it doesn't. I kind of like this one. We'll see.

Maya Mist spray ink patina green was sprayed on using a stencil. The ink kind of pooled and made her edges fuzzy looking. I think the ink reacted with the paint below causing the ink to be resisted somewhat by the paint. Not sure where I want to go with this yet. May go back over it with some different colored ink and add some more textures to the background.

Well I've just barely scratched the surface here and will be playing with this some more!

Disclaimer: Always give the original source credit or if you're not sure ask for permission. Never ever sell the altered piece/design as your own original design unless it is copyright free.

Our own little solar eclipse party

My husband and I decided to have our own little solar eclipse party last Sunday. Nothing like having a margarita by the pool and watching the solar eclipse through arc welding glasses. I asked him where he got those glasses and he just said he had them around since he was a kid. We've been married almost 32 years and I don't remember them so it must of been with his other treasures in his bottom dresser drawer. He's aged rather nicely my sweet nerdy guy.


Check out the crescent shapes made by the solar eclipse in the shadows. Pretty cool.